---
title: Set up CMEK on Claude Platform on AWS
url: https://platform.claude.com/docs/en/manage-claude/cmek-claude-platform-on-aws
description: Use an AWS KMS key as a customer-managed encryption key on Claude Platform on AWS.
---
This guide shows how to use an [AWS KMS](https://aws.amazon.com/kms/) key as a [customer-managed encryption key (CMEK)](https://platform.claude.com/docs/en/manage-claude/cmek) on [Claude Platform on AWS](https://platform.claude.com/docs/en/build-with-claude/claude-platform-on-aws). For Claude Platform or Claude Enterprise, follow [Configure AWS KMS for CMEK](https://platform.claude.com/docs/en/manage-claude/cmek-aws-kms) instead.
Enabling CMEK is permanent. If your KMS key is deleted or disabled, Anthropic cannot recover the data encrypted under it. Review the [warnings and limitations](https://platform.claude.com/docs/en/manage-claude/cmek) before you begin.
## Prerequisites
* The AWS account that hosts your Claude Platform on AWS organization, with permissions to create KMS keys and set key policies (`kms:CreateKey` and `kms:PutKeyPolicy`).
* To create the key from the command line, the [AWS CLI](https://aws.amazon.com/cli/) installed and authenticated.
* The **Admin** role in the Claude Console for Claude Platform on AWS. See [Using the Claude Console](https://platform.claude.com/docs/en/build-with-claude/claude-platform-on-aws#using-the-claude-console).
* These permissions for the IAM principal you sign in to the Claude Console with:
* **Sign in:** `aws-external-anthropic:AssumeConsole`
* **Register a key:** `aws-external-anthropic:RegisterKey`
* **View registered keys:** `aws-external-anthropic:ListKeys` and `aws-external-anthropic:GetKey`
* **Attach a key:** `aws-external-anthropic:UpdateWorkspace` or `aws-external-anthropic:CreateWorkspace`, plus `kms:DescribeKey`, `kms:Encrypt`, and `kms:Decrypt` on the key
* **Pick the key from a list (optional):** `kms:ListKeys` and `kms:DescribeKey`
`aws-external-anthropic:RegisterKey`, `aws-external-anthropic:ListKeys`, `aws-external-anthropic:GetKey`, and `aws-external-anthropic:CreateWorkspace` are account-scoped. Grant them on `Resource: "*"`. See [IAM actions](https://platform.claude.com/docs/en/api/claude-platform-on-aws-iam-actions#encryption-keys).
## AWS service principal for Anthropic
The key policy in this guide gives the following AWS service principal access to your key:
```text wrap
aws-external-anthropic.amazonaws.com
```
Use only this published service principal name. Never trust an identifier provided over email, chat, or any onboarding channel.
## Encryption key setup
### Prepare the key policy
Copy this policy into a text editor:
```json key-policy.json
{
"Version": "2012-10-17",
"Statement": [
{
"Sid": "AccountRootAdmin",
"Effect": "Allow",
"Principal": {
"AWS": "arn:aws:iam:::root"
},
"Action": "kms:*",
"Resource": "*"
},
{
"Sid": "AllowClaudePlatformOnAWSCrypto",
"Effect": "Allow",
"Principal": {
"Service": "aws-external-anthropic.amazonaws.com"
},
"Action": ["kms:Encrypt", "kms:Decrypt", "kms:GenerateDataKey"],
"Resource": "*",
"Condition": {
"StringEquals": {
"kms:EncryptionContext:anthropic:compartment_uuid": [""]
}
}
},
{
"Sid": "AllowClaudePlatformOnAWSDescribe",
"Effect": "Allow",
"Principal": {
"Service": "aws-external-anthropic.amazonaws.com"
},
"Action": "kms:DescribeKey",
"Resource": "*"
}
]
}
```
The `EncryptionContext` condition is optional. It limits the key to the workspaces you list. To remove it, delete the `Condition` block from the `AllowClaudePlatformOnAWSCrypto` statement.
If you keep the condition, add each workspace's compartment ID before you attach the key to it. For a new workspace:
1. Create the workspace without the key.
2. Add its compartment ID to the policy.
3. Attach the key.
If you add the condition later, list the compartment ID of every workspace the key is already attached to.
To limit the key policy further, see the [optional `aws:SourceArn` condition](https://platform.claude.com/docs/en/manage-claude/cmek-claude-platform-on-aws#source-arn-condition).
Replace the placeholders:
* **``:** your [AWS account ID](https://docs.aws.amazon.com/IAM/latest/UserGuide/console-account-id.html). To print it with the AWS CLI, run `aws sts get-caller-identity --query Account --output text`.
* **``:** the compartment ID of the workspace you attach the key to
**Finding your compartment ID:** In the Claude Console, go to the [Data retention](https://platform.claude.com/settings/privacy) page (`platform.claude.com/settings/privacy`). Select the workspace from the dropdown menu at the top of the page. The ID is under **Encryption key**, in the **Compartment ID** field. You can also read the `compartment_id` field returned by the [Get Workspace](https://platform.claude.com/docs/en/api/organization/workspaces/retrieve) endpoint.
### Create the key
Create the key in the AWS account that hosts your Claude Platform on AWS organization, in the same region as the workspace.
Open the [AWS KMS console](https://console.aws.amazon.com/kms) and switch to the region for the key. Go to **Customer managed keys** and click **Create key**.
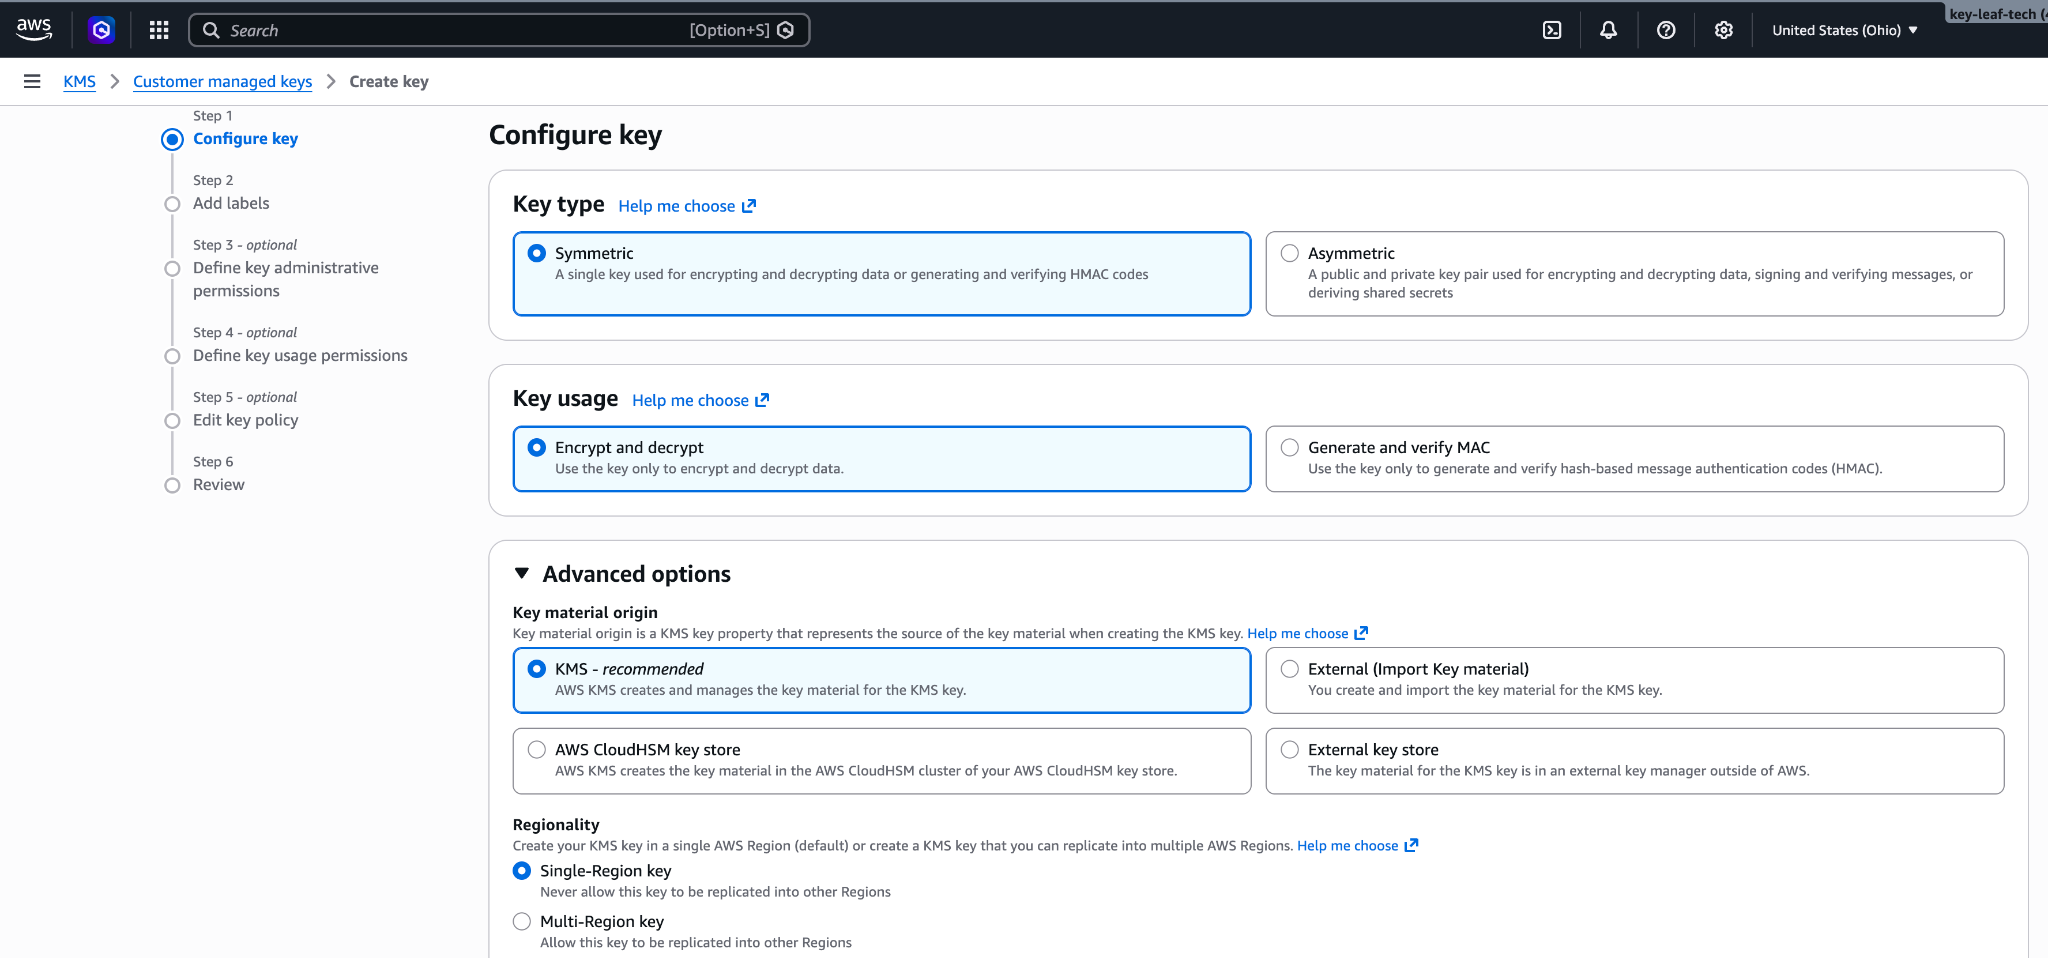
Make sure that these options are selected:
* **Key type:** Symmetric
* **Key usage:** Encrypt and decrypt
* **Advanced options > Key material origin:** KMS
* **Advanced options > Regionality:** Single-Region key
Click **Next**.
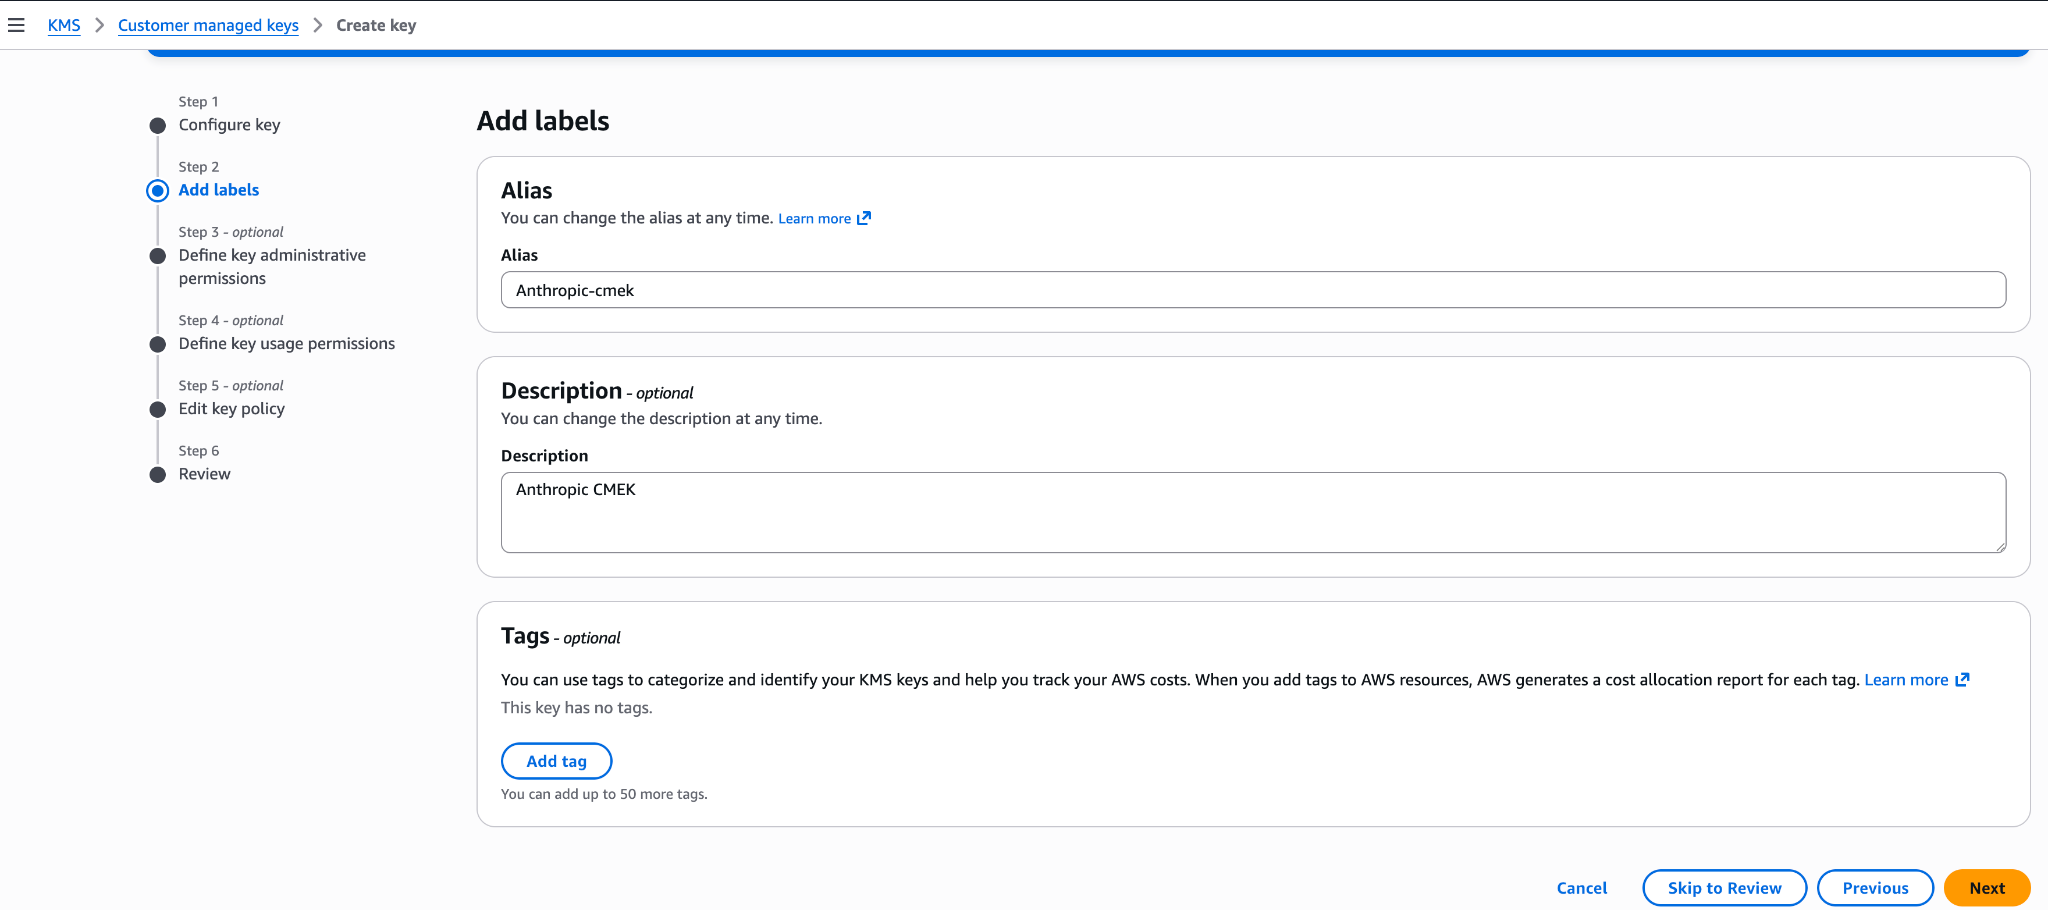
Enter an **Alias** for the key, such as `anthropic-cmek`. Click **Next**.
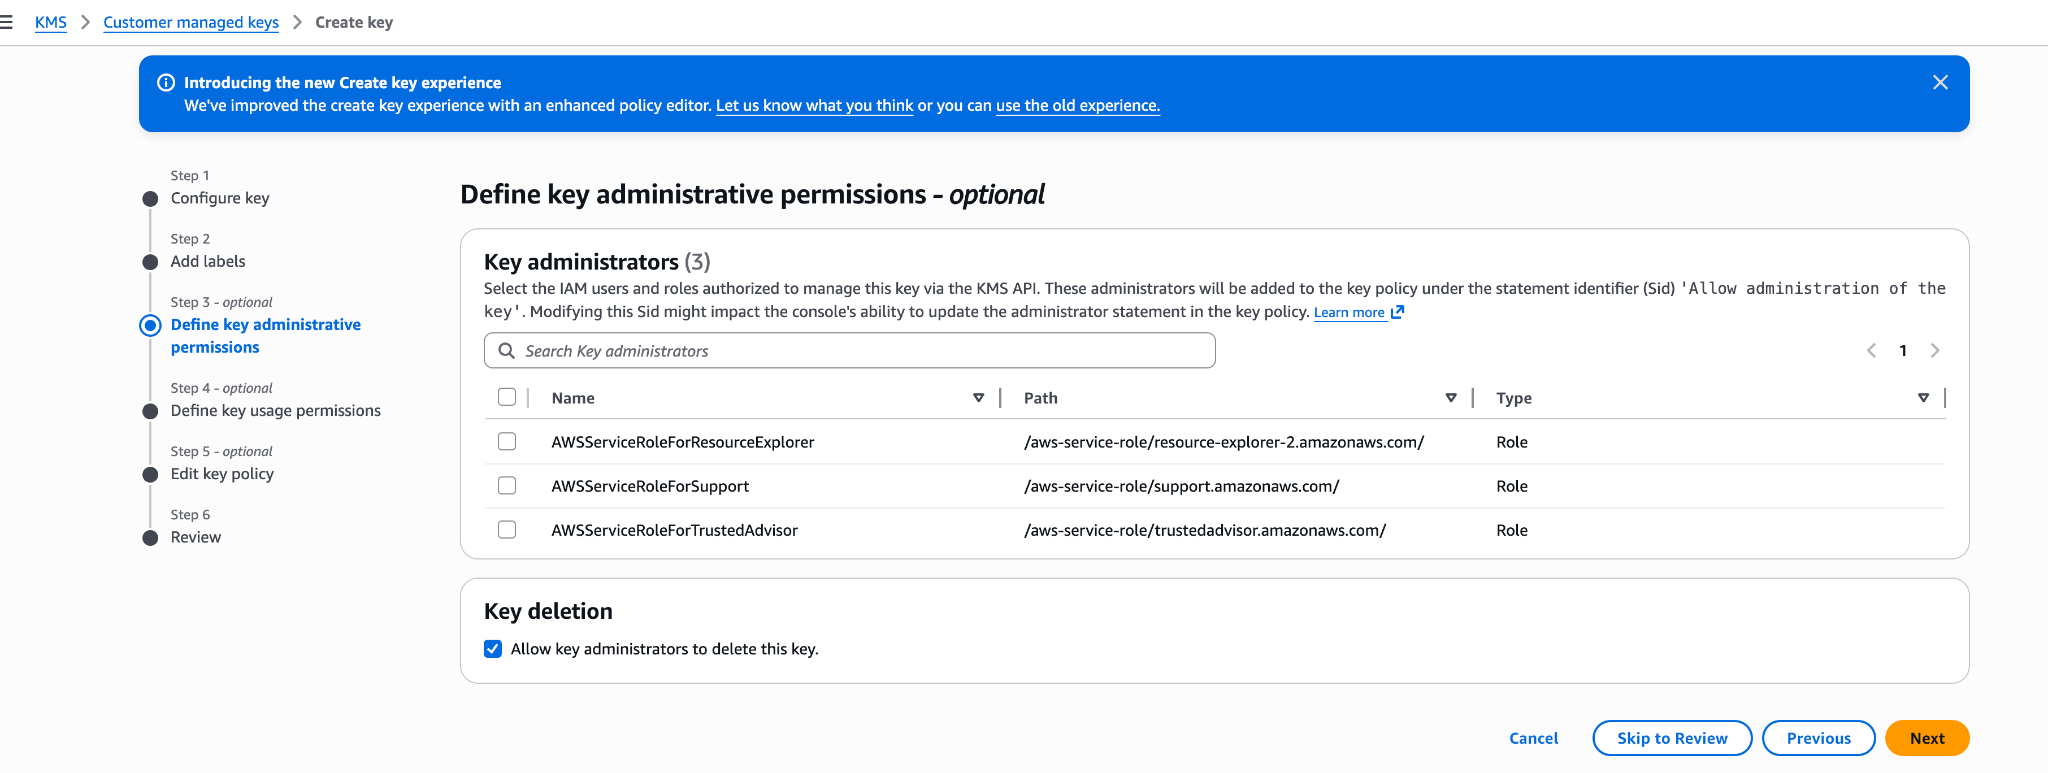
Don't select any key administrators. Your key policy already gives your AWS account full admin control. Click **Next**.
Don't select any key users, and don't add anything under **Other AWS accounts**. Your key policy already grants the access that's needed. Click **Next**.
Click **Edit**. Replace the whole policy with your key policy, then click **Next**.
Click **Finish**.
In **Customer managed keys**, open the new key and copy its ARN. You need the ARN to register the key.
To replace the key policy on a key that already exists:
1. Open the key and click the **Key policy** tab.
2. If you see **Switch to policy view**, click it.
3. Click **Edit**.
4. Replace the JSON with your key policy.
5. Click **Save changes**.
Save your key policy as `key-policy.json`, then create the key. Replace `` with the key's region.
```bash
aws kms create-key \
--region \
--description "Anthropic CMEK" \
--key-usage ENCRYPT_DECRYPT \
--policy file://key-policy.json
```
Copy `KeyMetadata.Arn` from the output. You need it to register the key.
**Optional:** To limit both service principal statements further, add an `aws:SourceArn` condition to each. The source ARN on every call is the [workspace's ARN](https://platform.claude.com/docs/en/api/claude-platform-on-aws-iam-actions#service-details), in the form `arn:aws:aws-external-anthropic:::workspace/`.
* **All workspaces in your AWS account:** `"ArnLike": {"aws:SourceArn": "arn:aws:aws-external-anthropic:*::workspace/*"}`
* **Specific workspaces:** the same condition, with a list of full workspace ARNs instead of the wildcard
## Register the key with Anthropic
Sign in to the Claude Console through AWS with the Admin role.
In the Claude Console, go to the [Data retention](https://platform.claude.com/settings/privacy#encryption-keys) page (`platform.claude.com/settings/privacy`). If you don't see **Encryption keys**, select **Organization** from the dropdown menu at the top of the page.
Under **Encryption keys**, click **Add key**. Enter a **Display name**.
Anthropic rejects alias ARNs and multi-Region keys.
In **KMS key ARN**, paste the key ARN. If a list of keys appears instead, select your key, or click **Enter ARN manually** and paste the ARN. Click **Add**.
Attaching a key can't be undone. If you can, attach it to a new workspace before that workspace receives any requests. In a workspace that already receives requests, the key can take [up to a day to take effect](https://platform.claude.com/docs/en/manage-claude/cmek#how-it-works).
On the Data retention page, select the workspace from the dropdown menu at the top of the page. Under **Encryption key**, select the key and click **Save**.
Select the checkbox to confirm that you have read the CMEK documentation, then click **Confirm**.
Attaching validates the key. If it fails with a KMS access error, see [Troubleshoot validation](https://platform.claude.com/docs/en/manage-claude/cmek-claude-platform-on-aws#troubleshoot-validation).
You can also select a key when you create a workspace in the Claude Console, if your key policy has no `EncryptionContext` condition.
To register and attach keys with the API instead, see [IAM actions](https://platform.claude.com/docs/en/api/claude-platform-on-aws-iam-actions#encryption-keys). The API identifies a key by its KMS key ARN.
## Troubleshoot validation
If validation fails, common causes are:
* **Key policy mismatch:** Make sure the key policy matches the one in [Prepare the key policy](https://platform.claude.com/docs/en/manage-claude/cmek-claude-platform-on-aws#prepare-the-key-policy). To check the key policy, run `aws kms get-key-policy --region --key-id --policy-name default`.
* **Condition mismatch:** Make sure any `EncryptionContext` or `aws:SourceArn` condition includes this workspace.
* **Key state or location:** Confirm that the key is enabled, single-Region, and in the same AWS account and region as the workspace.
* **Missing permissions:** The principal you are signed in as needs `kms:DescribeKey`, `kms:Encrypt`, and `kms:Decrypt` on the key.
* **Organization policies:** Make sure no service control policy or resource control policy in your AWS organization blocks the service principal or your principal.
If attaching still fails, find the denied `kms:` event in CloudTrail in the key's account. It shows the calling principal and, for cryptographic calls, the encryption context. After you fix the cause, click **Save** again.
## Terraform
To create the key with Terraform, use the `aws_kms_key` and `aws_kms_alias` resources from the `aws` provider.